

Lightweight Affordable Backpacking Gear
The best cheap backpacking gear is lightweight and affordable. You don’t need to break the bank to sleep in the backcountry! This guide to affordable hiking gear prioritizes items that are lightweight and offer a high performance-to-price ratio.
For the most part, we only consider cheap backpacking gear from reliable outdoor brands. While less expensive versions exist, we recommend avoiding knock-offs. Gear failure in the mountains can be life threatening. What’s more, REI’s budget-friendly Trailmade line includes most key items and sets a high bar at a low price. The Trailmade series dominates this list.
We evaluate cheap hiking gear through the lens of ultralight backpacking. We love saving money and weight, and are critical of spending every extra dollar, and every extra ounce. Scroll through to read the gear recommendations. Or jump over to our premium 9 lb ultralight gear list and staff picks to see how budget items compare to the very top tier. You might be surprised by the amount of crossover.
You make Adventure Alan & Co possible. When purchasing through links on our site, we may earn an affiliate commission at no additional cost to you. Here’s why you can trust us.


Popular Cheap Backpacking Gear
Table of Contents
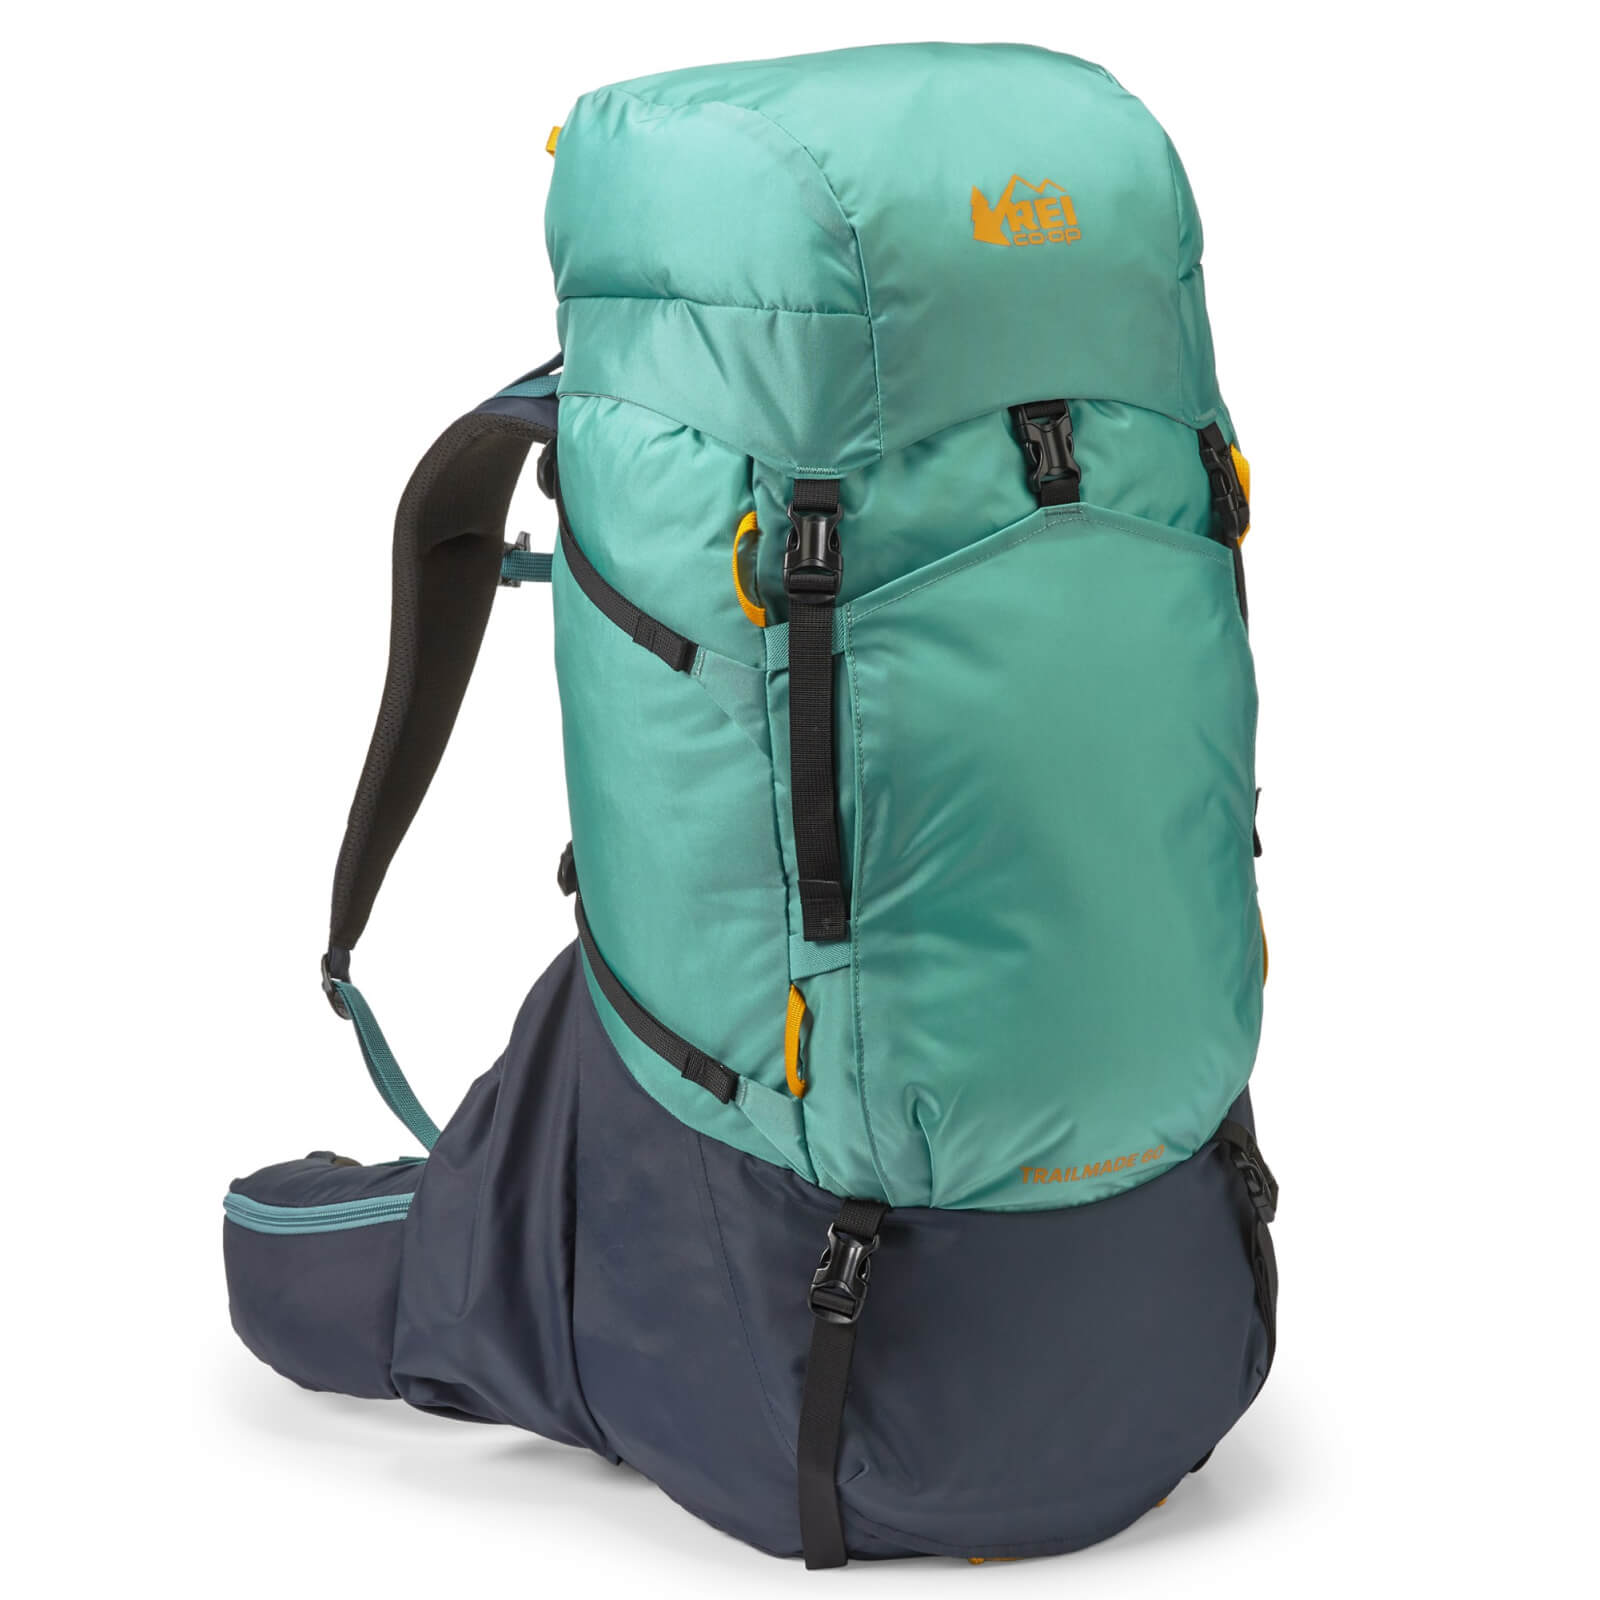
REI Trailmade 60 Backpack
REI Co-op Trailmade 60LBackpack
54 oz | $149
The REI Co-op Trailmade 60 Pack is a voluminous, adjustable, reasonably lightweight, backpacking pack that accommodates all body types. It’s made with durable, 100% recycled nylon, and is sure to last longer and outperform comparably cheap backpacking gear from knock off brands on Amazon. This is a beginner friendly backpack, and it even has adjustment instructions printed onto its lid. What a great value!

REI Flash 55 Backpack
REI Co-op Flash 55
45 oz | $199
REI Co-op Flash 55 is a well-rounded lightweight backpack that delivers excellent performance at an impressive value. From our perspective, it is the singular best backpack one can purchase for under $200. For a 45 oz backpack, there’s lots of modular pockets and features, plus the fit is adjustable. Almost everyone finds this backpack to be comfortable, and we love the distinct yellow colorway.
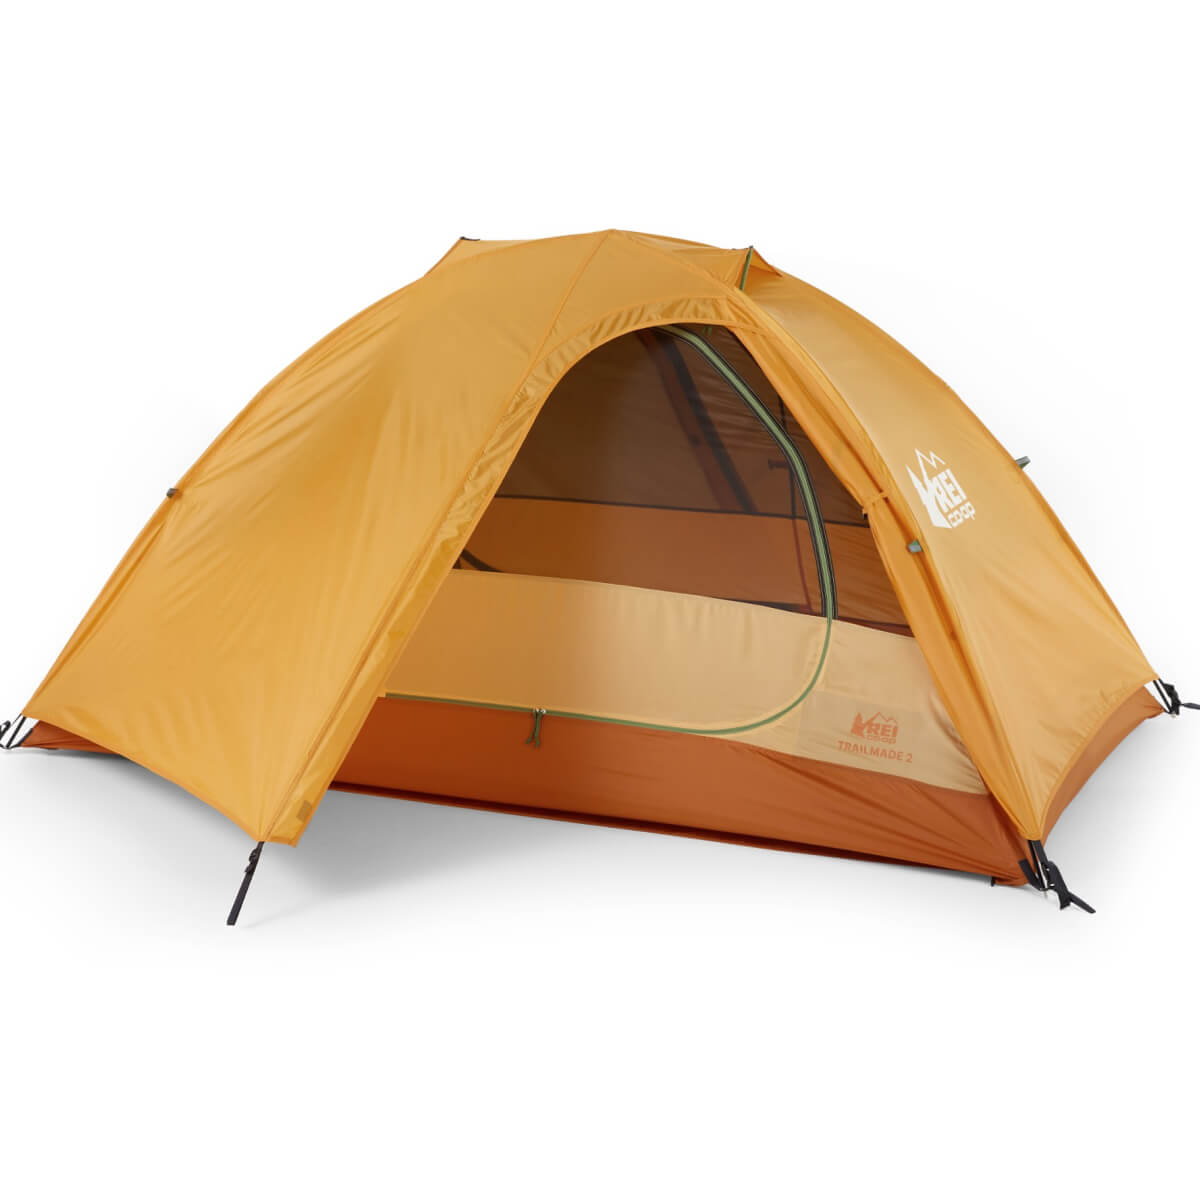
REI Trailmade 2 Tent
REI Co-op Trailmade 2 Tent
68 oz | $179
The REI Co-op Trailmade 2 Tent is a proven backpacking design from a reputable outfitter for under $200. What a bargain! At just over 4 lbs, it’s a bit on the heavy side, but still lighter than most tents in its price range. And with two doors and vestibules, it far outcompetes most tents under $200. The cross pole design is trustworthy and super user friendly. We wish it had a spreader bar at the top for more headroom, but it’s only a small sacrifice for such great and cheap backpacking gear.
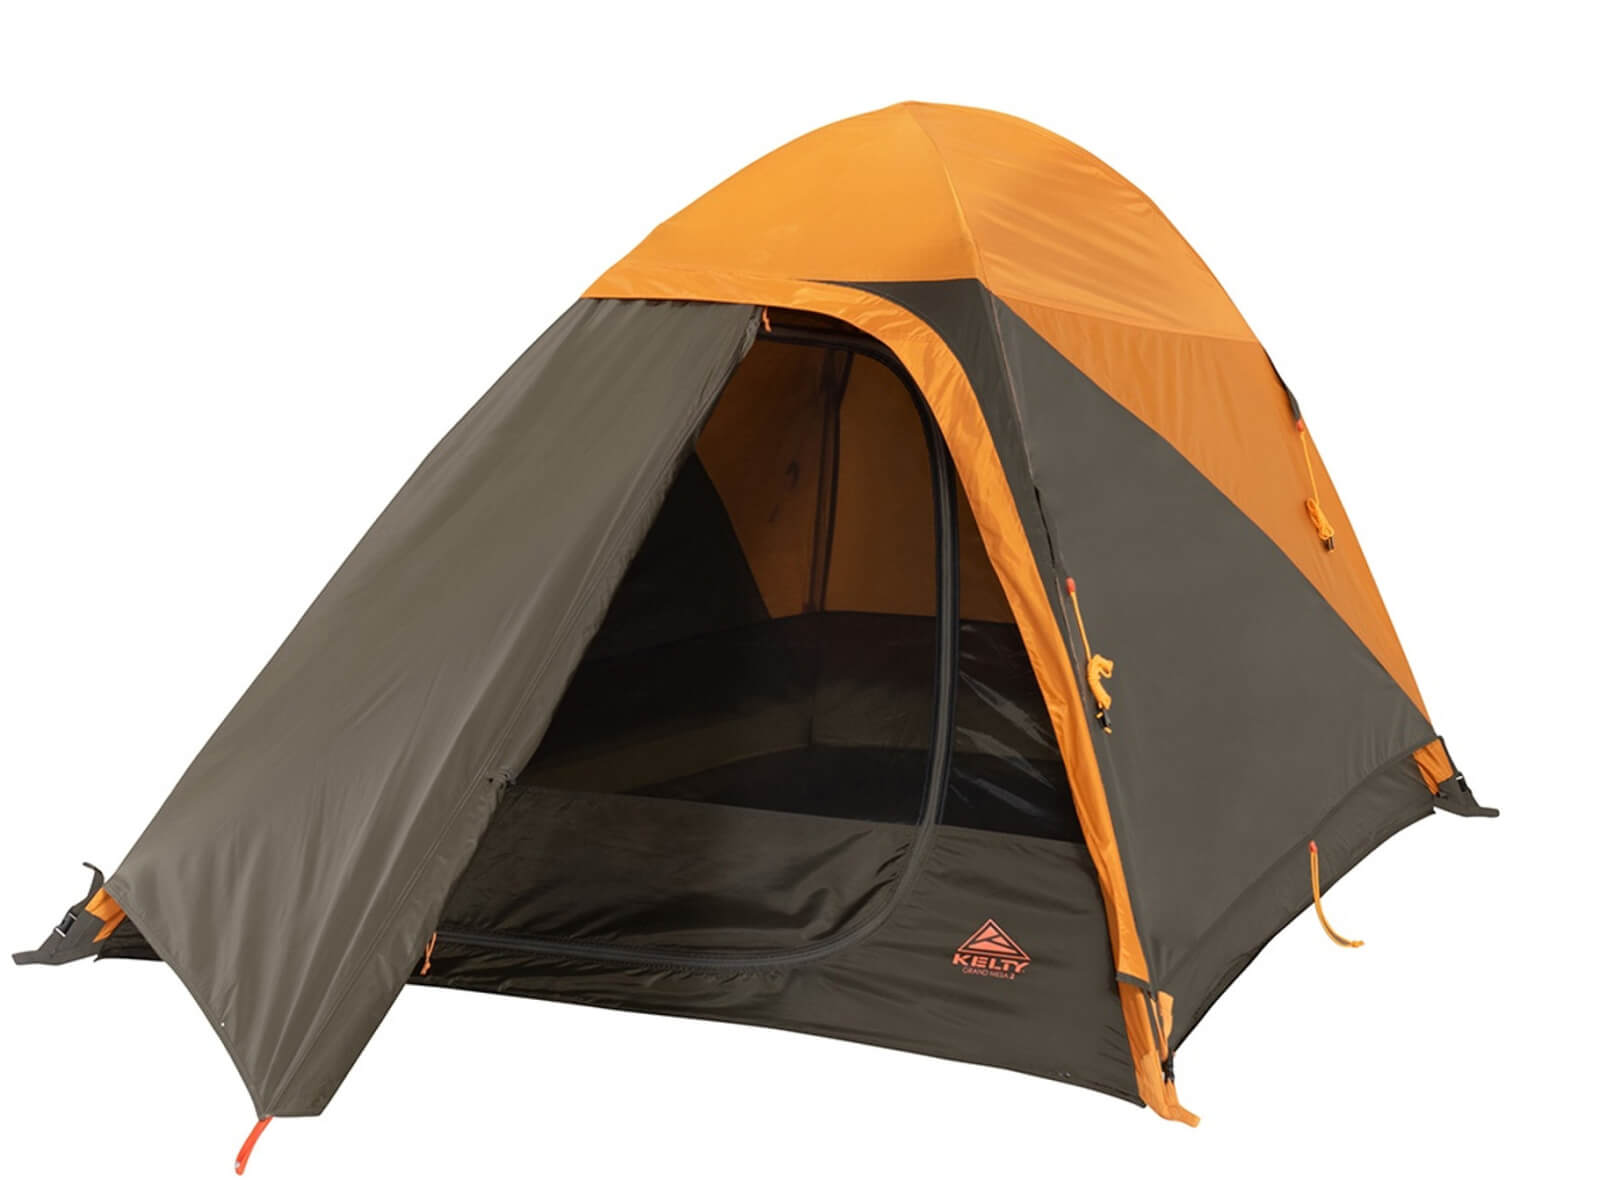
Kelty Grand Mesa 2 Tent
4 lbs 1 oz | $149
Astoundingly affordable, the Kelty Grand Mesa 2 Tent proves that you don’t need anything fancy, and cheap backpacking gear really can work. This one-door tent is about as simple as it gets, but because it’s not doing anything fancy, it actually only weighs four pounds, which is less than most tents in the $200-$300 price range. Such value!
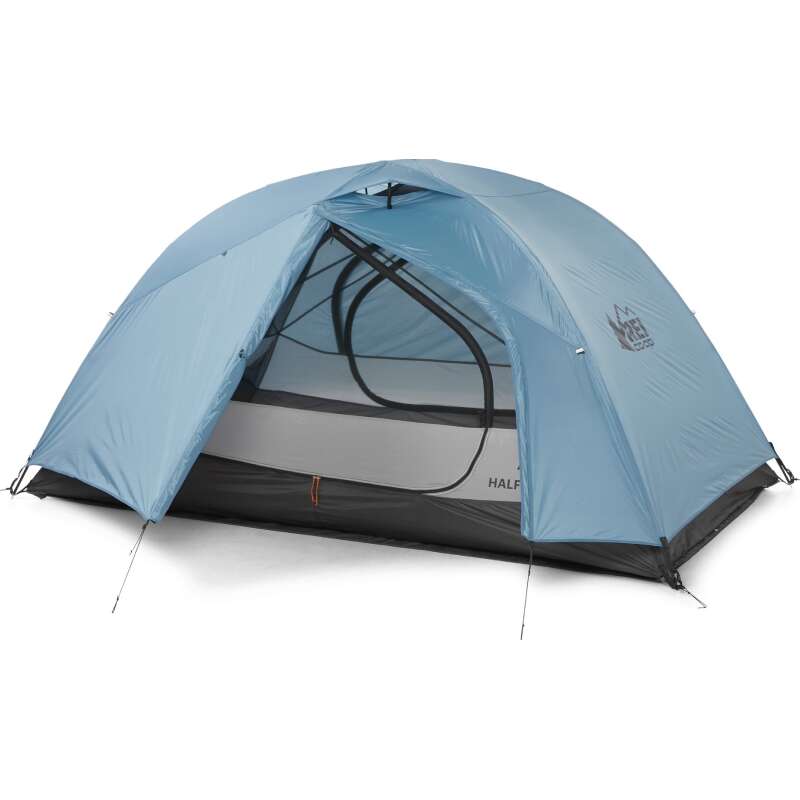
REI Half Dome SL 2+ Tent
63 oz | $349
The REI Co-op Half Dome SL 2+ is a best-seller for a reason; it just works. No matter where and how you choose to camp in the back or front-country, this large backpacking tent will keep you comfortably protected. Its vertical walls, spacious interior, and expansive vestibules make for great livability, and an excellent crossover into car camping. Backed by REI’s warranty.
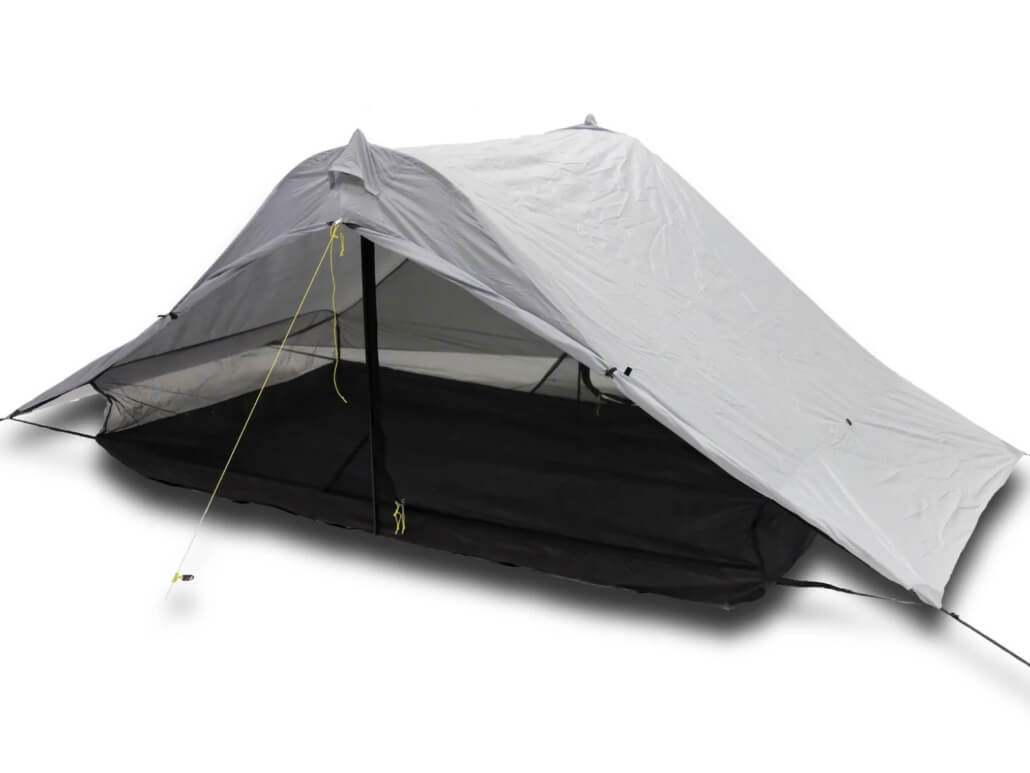
Six Moon Designs Lunar Duo Outfitter Tent
3 lbs 9 oz | $210
The Six Moon Designs Lunor Duo Outfitter offers an exceptional price-to-weight ratio. It is lighter and more livable than nearly all other tents in it price range. This is a durable, spacious, fully enclosed trekking pole shelter. It has large vestibules and a tall ceiling height. Note, it’s a single wall design, so sleep with a door open for ventilation when conditions allow. Like all cheap backpacking gear, there’s usually a small drawback, and the Lunar Duo Outfitter requires at-home seam taping.
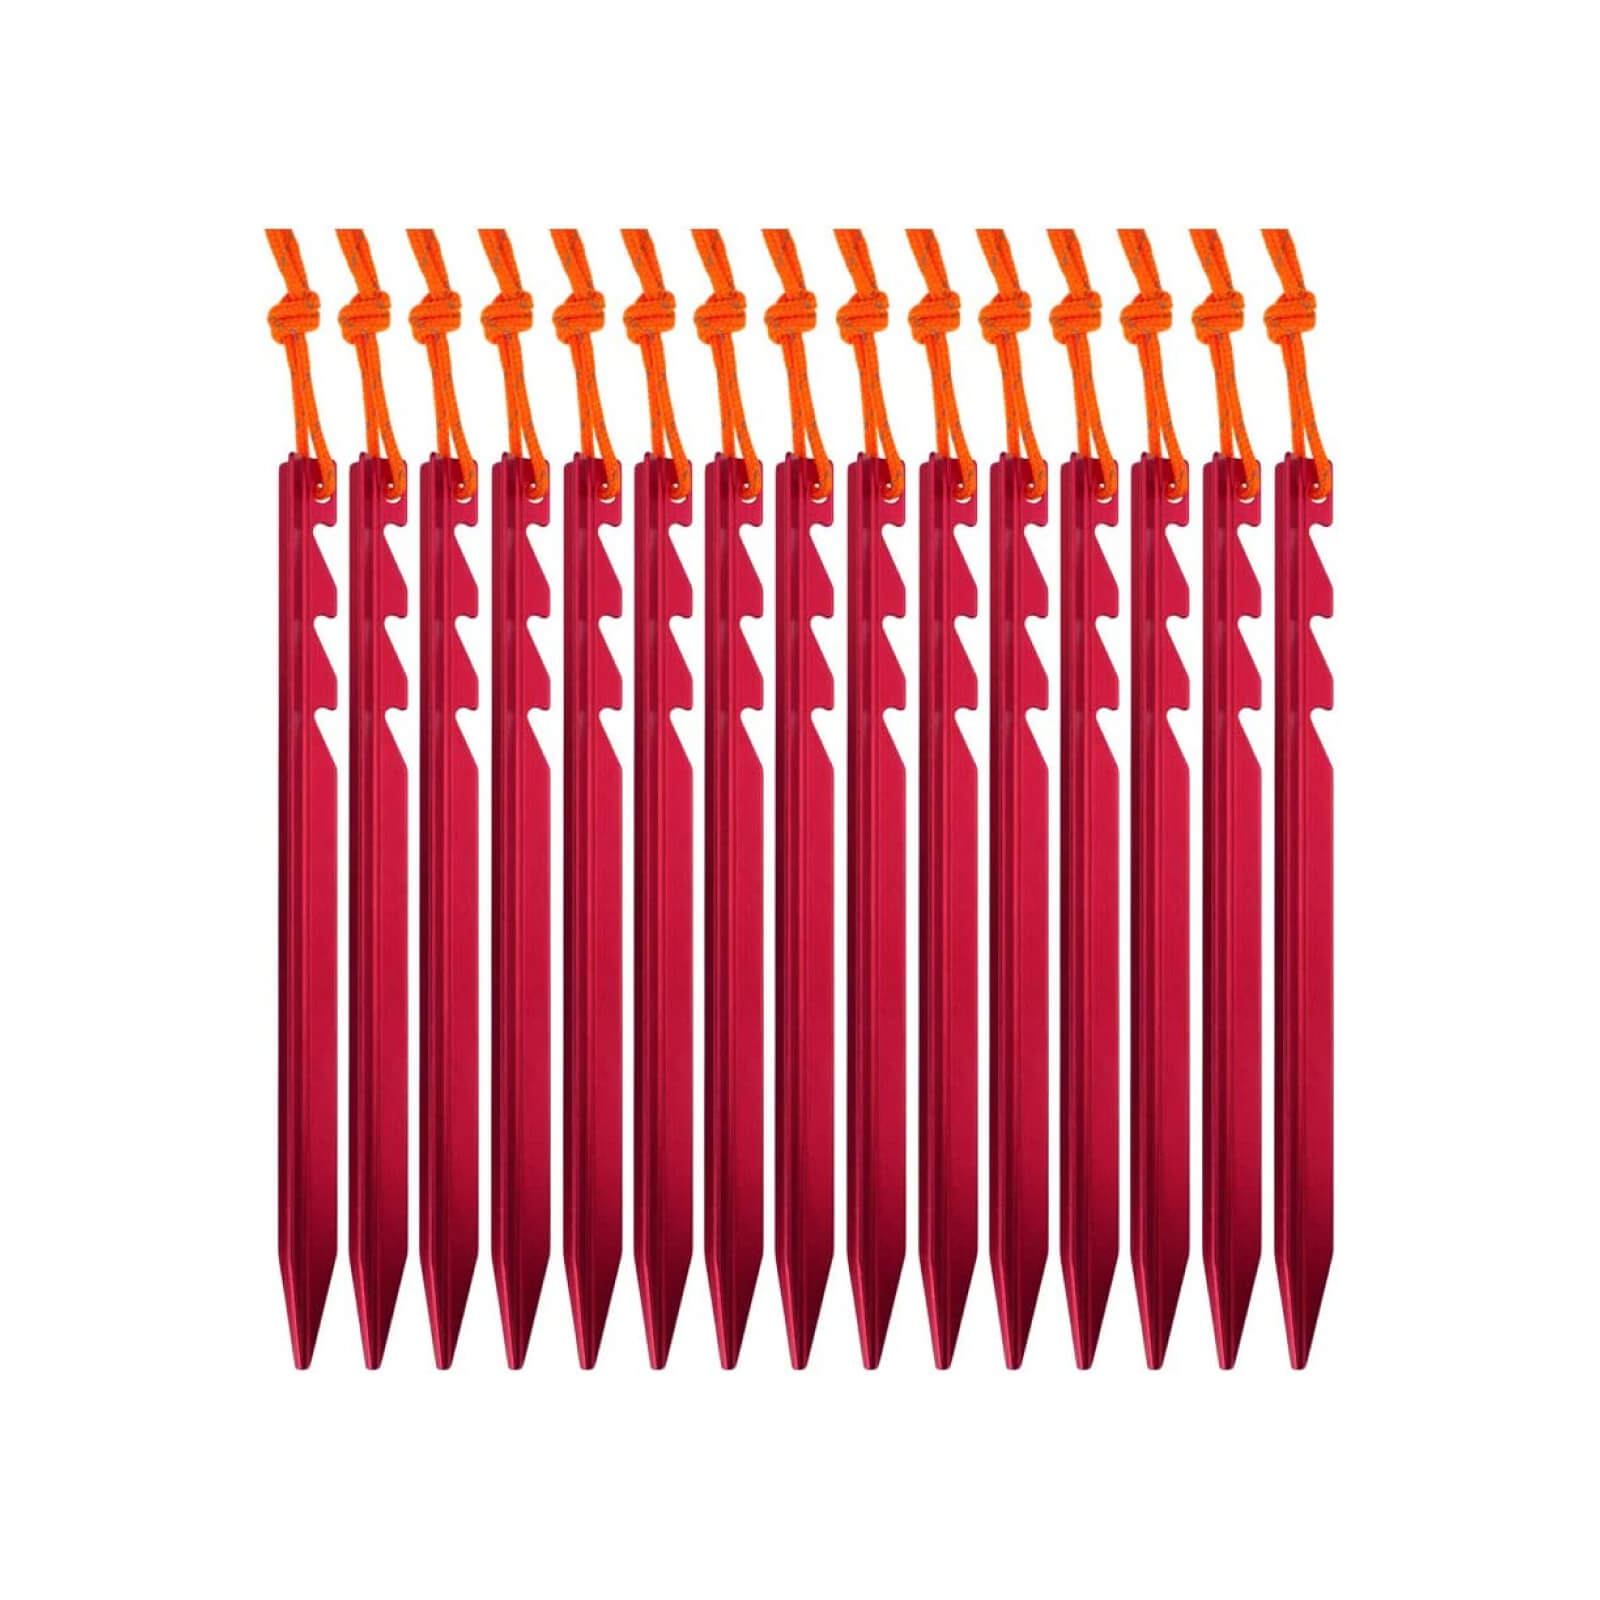
AnyGear 7075 Aluminum Tent Stakes
AnyGear 7075 Aluminum Tent Stakes
0.5 oz | $0.66 per stake
The starter stakes that came with your tent are OK. But we prefer these inexpensive & far stronger Y-stakes as they make tent pitching easier and more secure in rocky dirt. The ANYGEAR 7075 Aluminum Stakes have a Y neck and only a single notched rib at the head making them extremely resistant to bending and damage when pounding in with a rock.

Gossamer Gear Polycryo Ground Cloth
Gossamer Gear Polycryo Ground Cloth
3.7 oz | $11
For camping on abrasive surfaces, we recommend the Gossamer Gear Polycryo Ground Cloth. As simple as it is, it’s some of the smartest ultralight backpacking gear. It’s much, much lighter than the sil-nylon version that came with your backpacking tent, and will still protect against puncture and microtears. This is the preferred footprint for ultralight tents. For solo shelters, cut the width down by 1/3 for a total weight of 2.4 oz
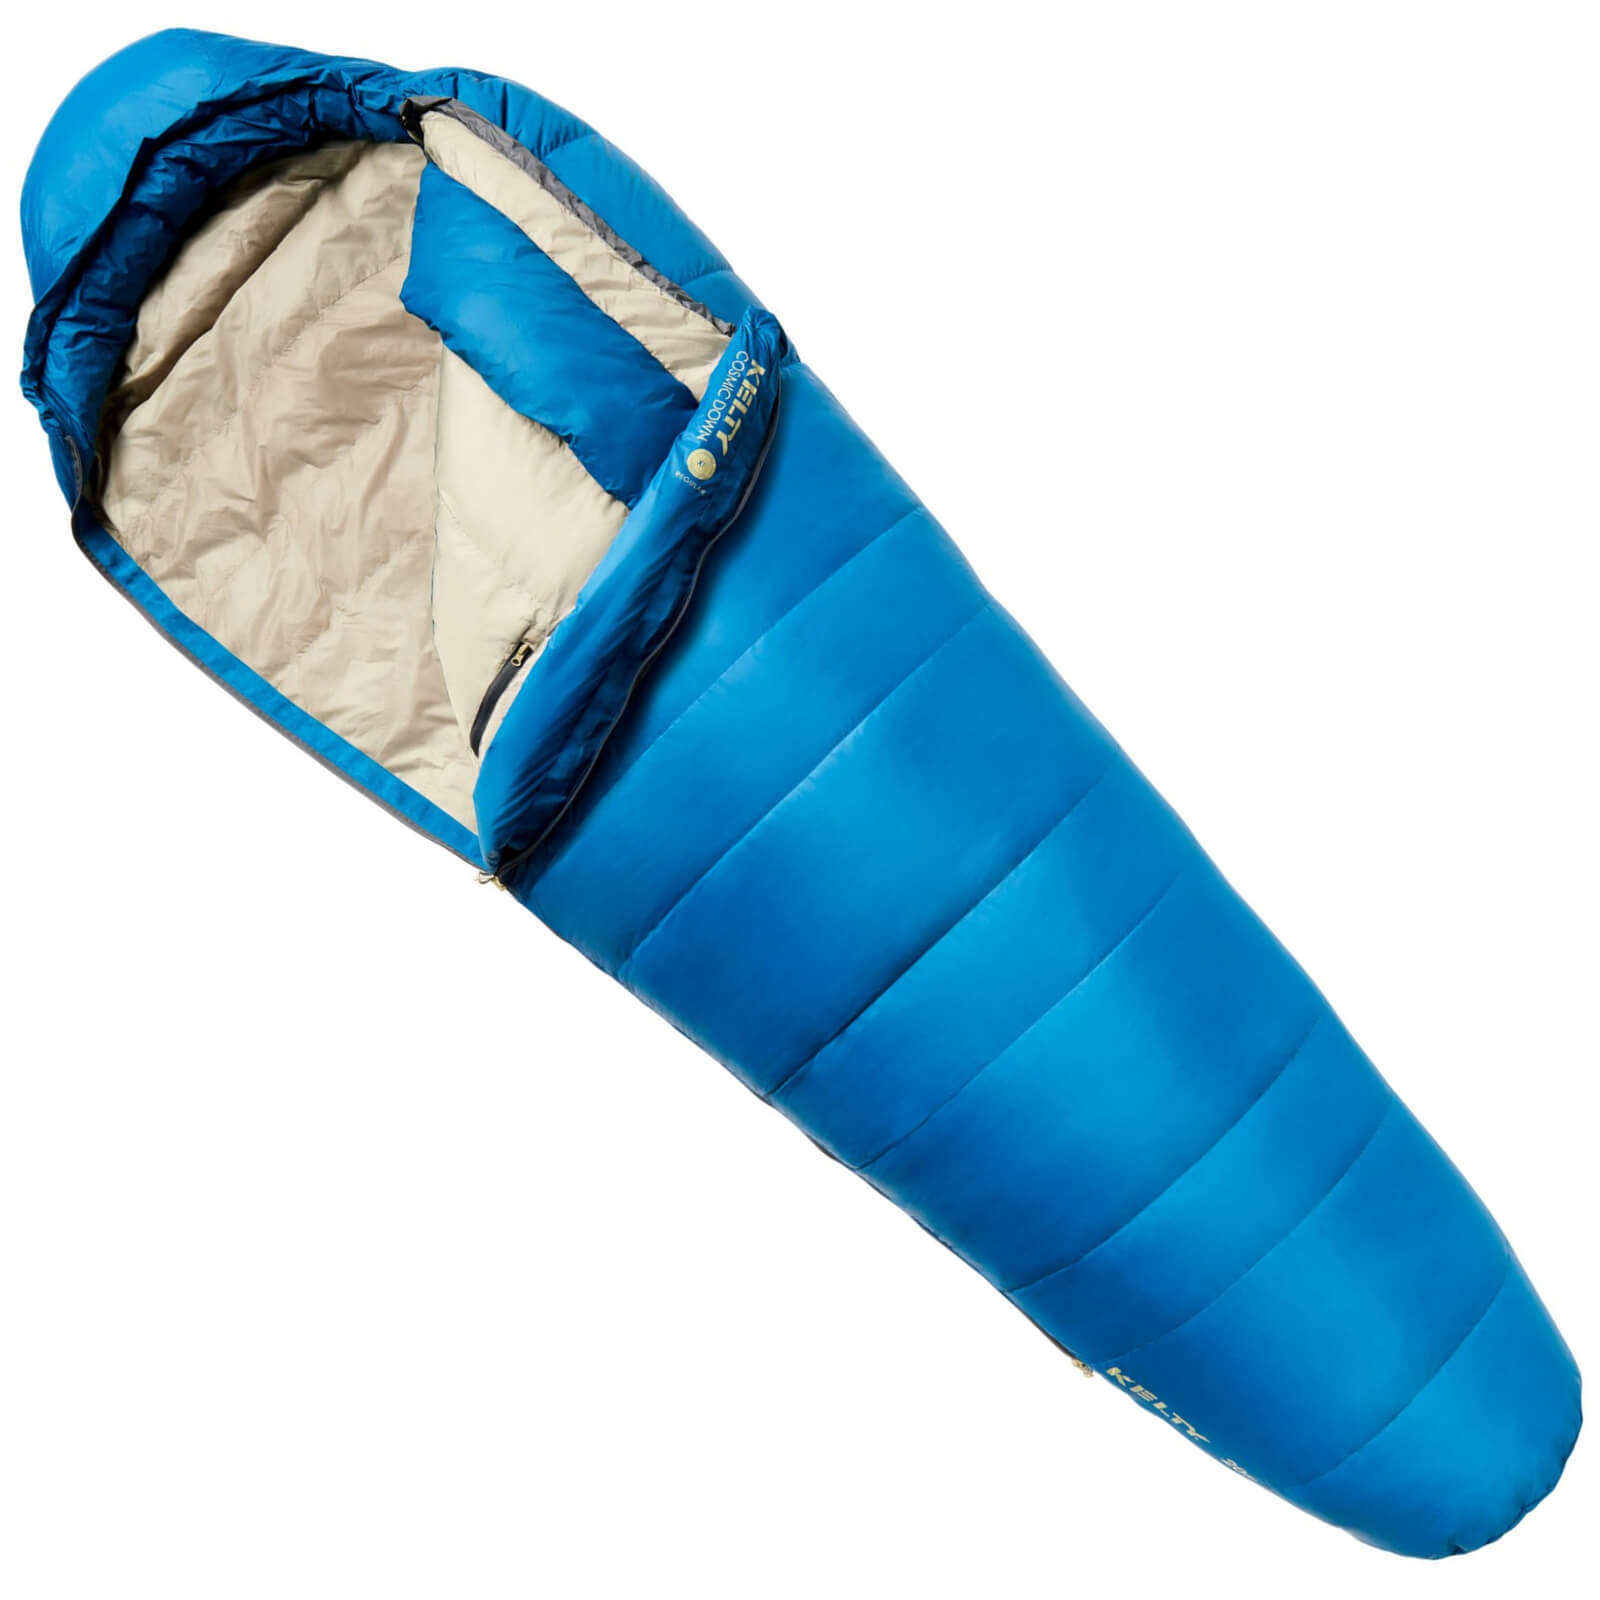
Kelty Cosmic 20 Sleeping Bag
42 oz | $165
If you have no more than $200 to spend on a backpacking sleeping bag, grab the Kelty Cosmic 20. The materials and down fill power are middling, but it will keep you comfortably warm down to freezing. And it does so without entirely taking over your backpack or breaking the bank. Kelty is famous for making some of the best cheap backpacking gear, and this sleeping bag is no exception.

Marmot Trestles Eco Elite 20 Sleeping Bag
38 oz | $169
If you want to sleep under the stars knowing that you are minimizing harm to the planet, we recommend the Marmot Trestles Elite Eco 20. This is a midweight synthetic backpacking sleeping bag that is warm down to freezing. It’s a bit bulky, but gets the job done fairly well. Comes with a built-in draft collar and internal stash pocket. All of the fabric and insulation has been constructed with recycled materials to reduce impact. This might be cheap backpacking gear, but it is not irresponsible.
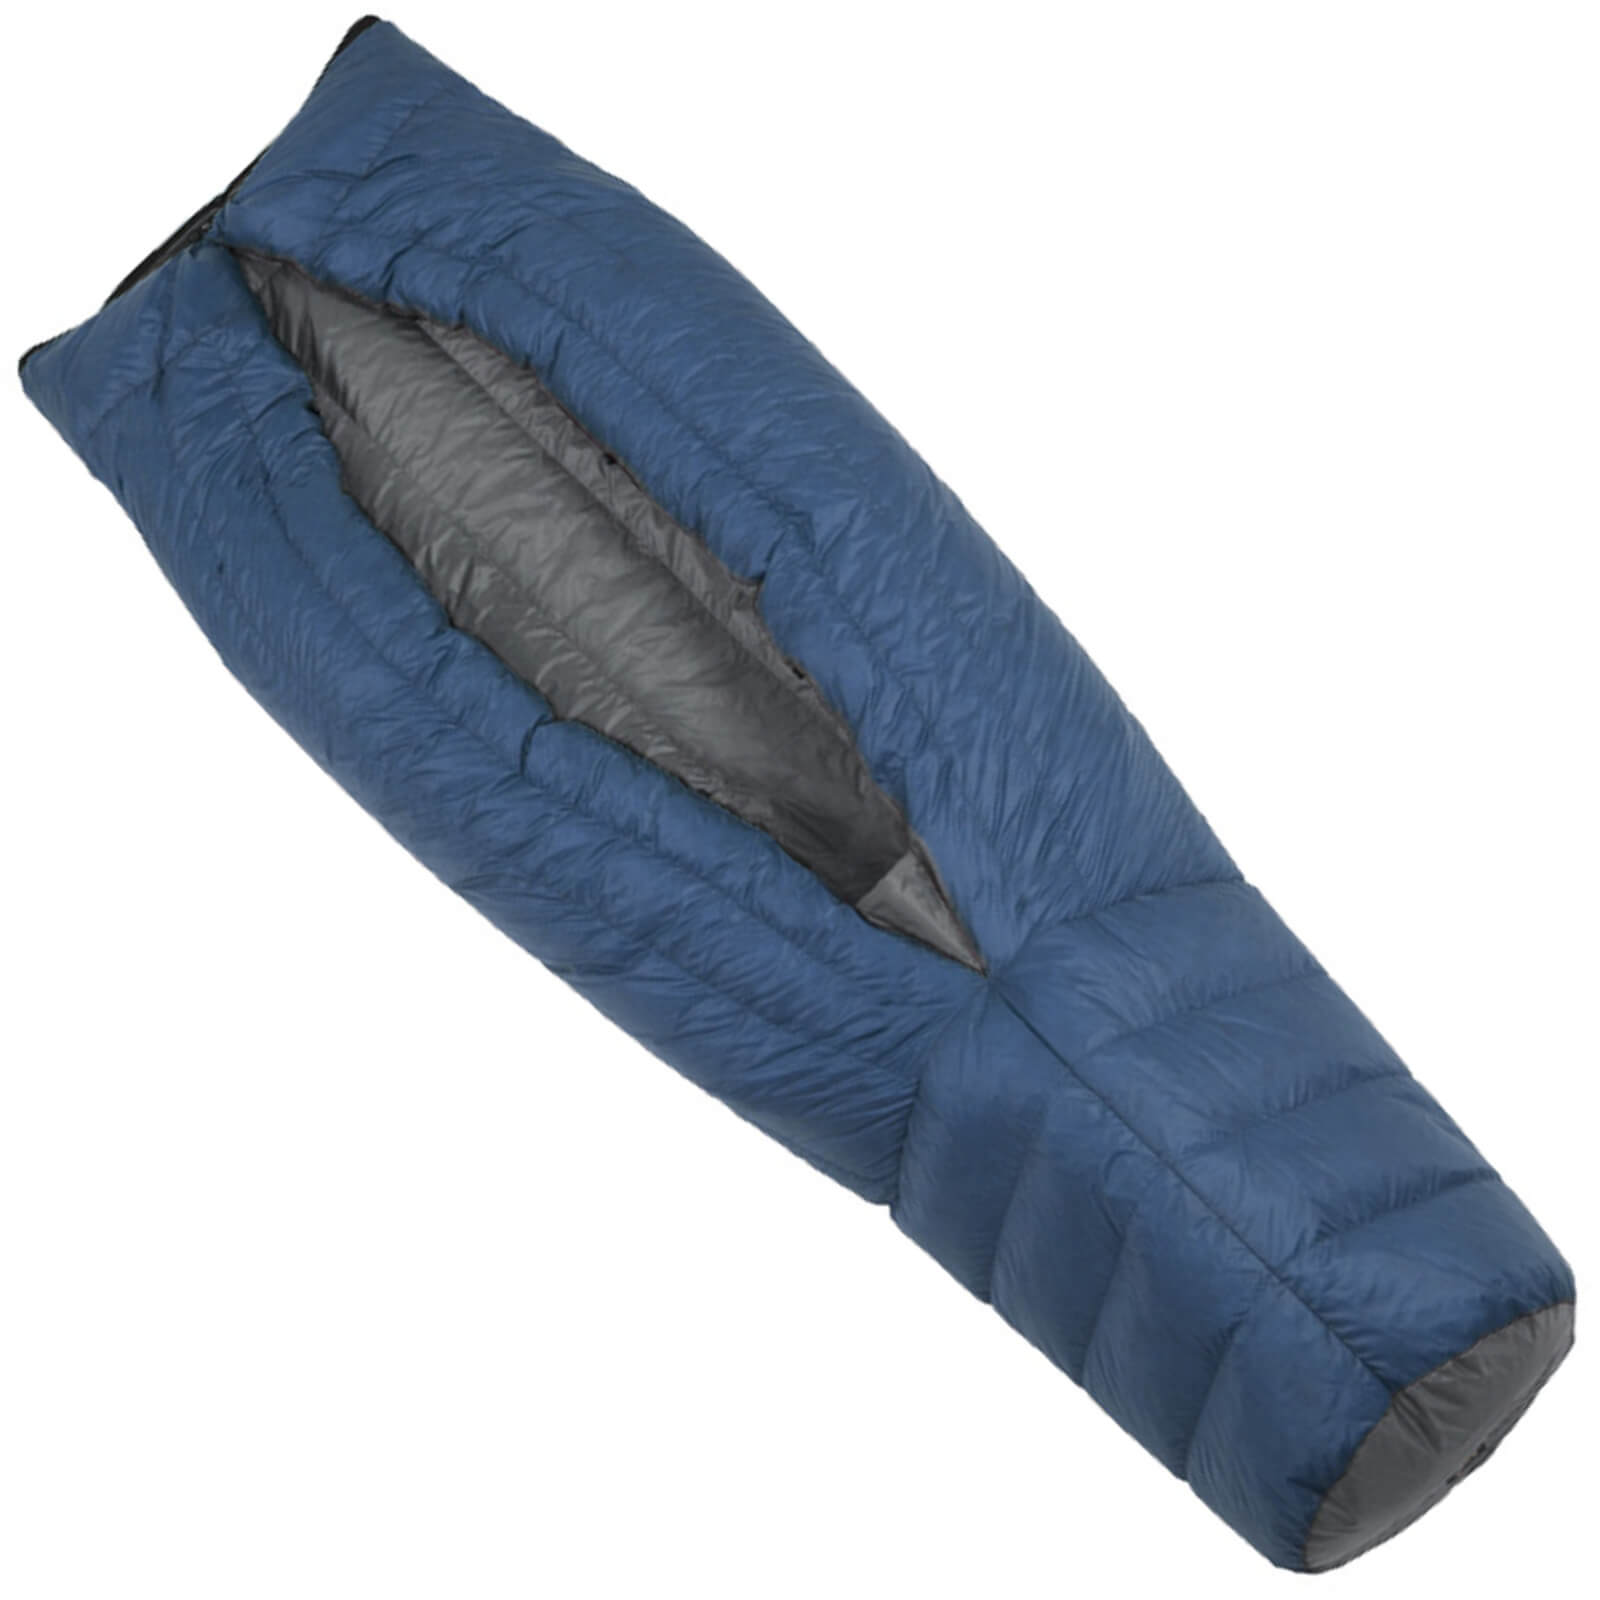
Hammock Gear Burrow 20
Hammock Gear Burrow 20F
23.6 oz | $360
We believe very strongly that quilts are a superior option to sleeping bags, and that this quilt offers the single best value proposition on the market. The Hammock Gear Burrow 20 is a simple ultralight design, with the right mix of fabrics and down. The performance is better than any traditional down sleeping bag ever to be produced, yet costs hundreds of dollars less. Make sure to upgrade to the wide option for ground sleeping.
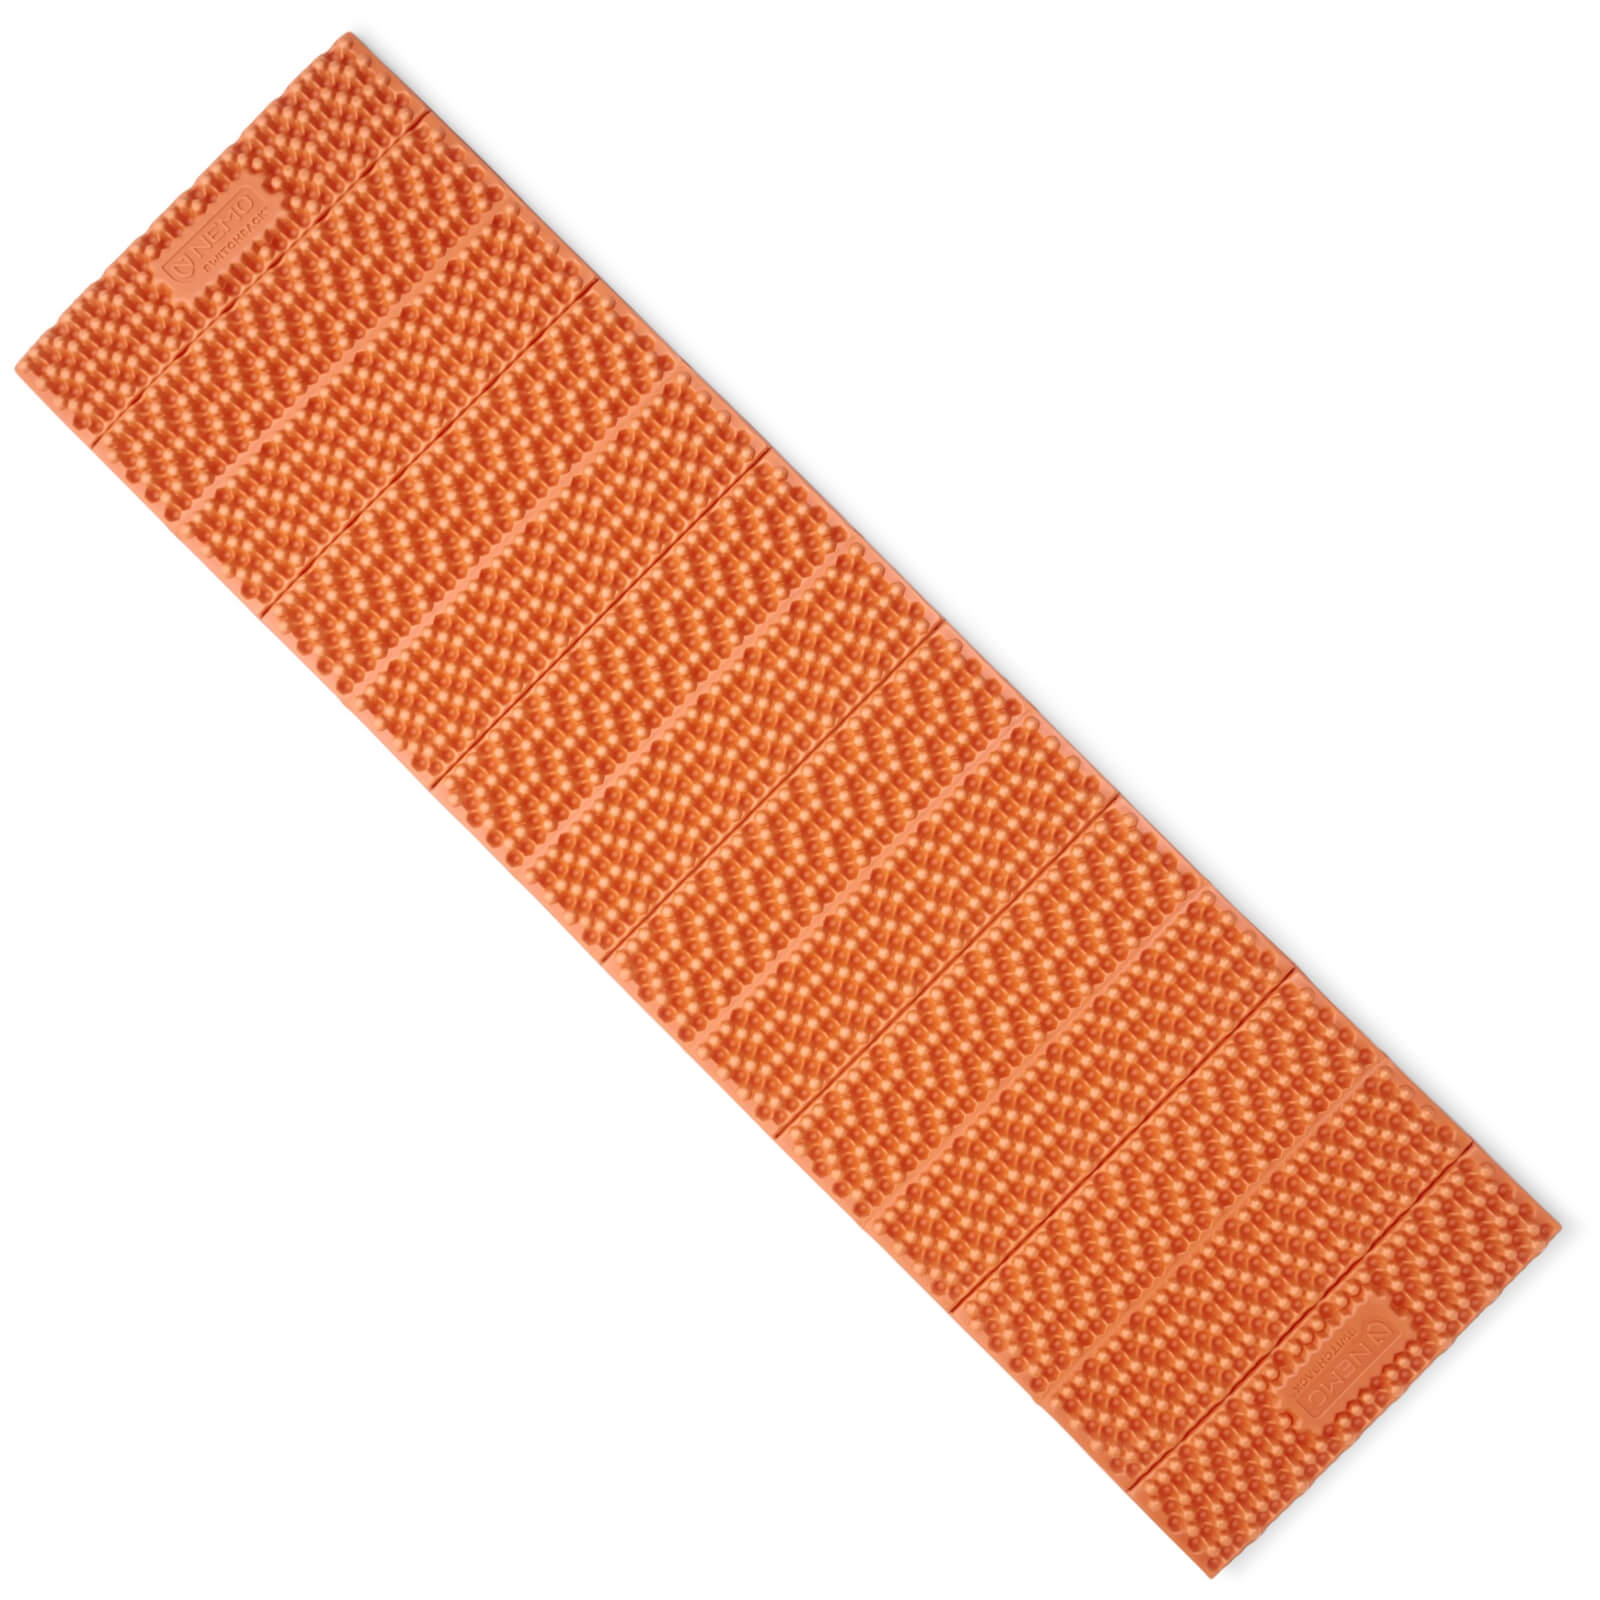
NEMO Switchback Sleeping Pad
14.5 oz | $55
If you’re in the market for a backpacking sleeping pad that is highly affordable and highly durable, we recommend the NEMO Switchback Sleeping Pad Within the closed-cell foam family, it offers the best blend of thickness, weight, and R-Value.
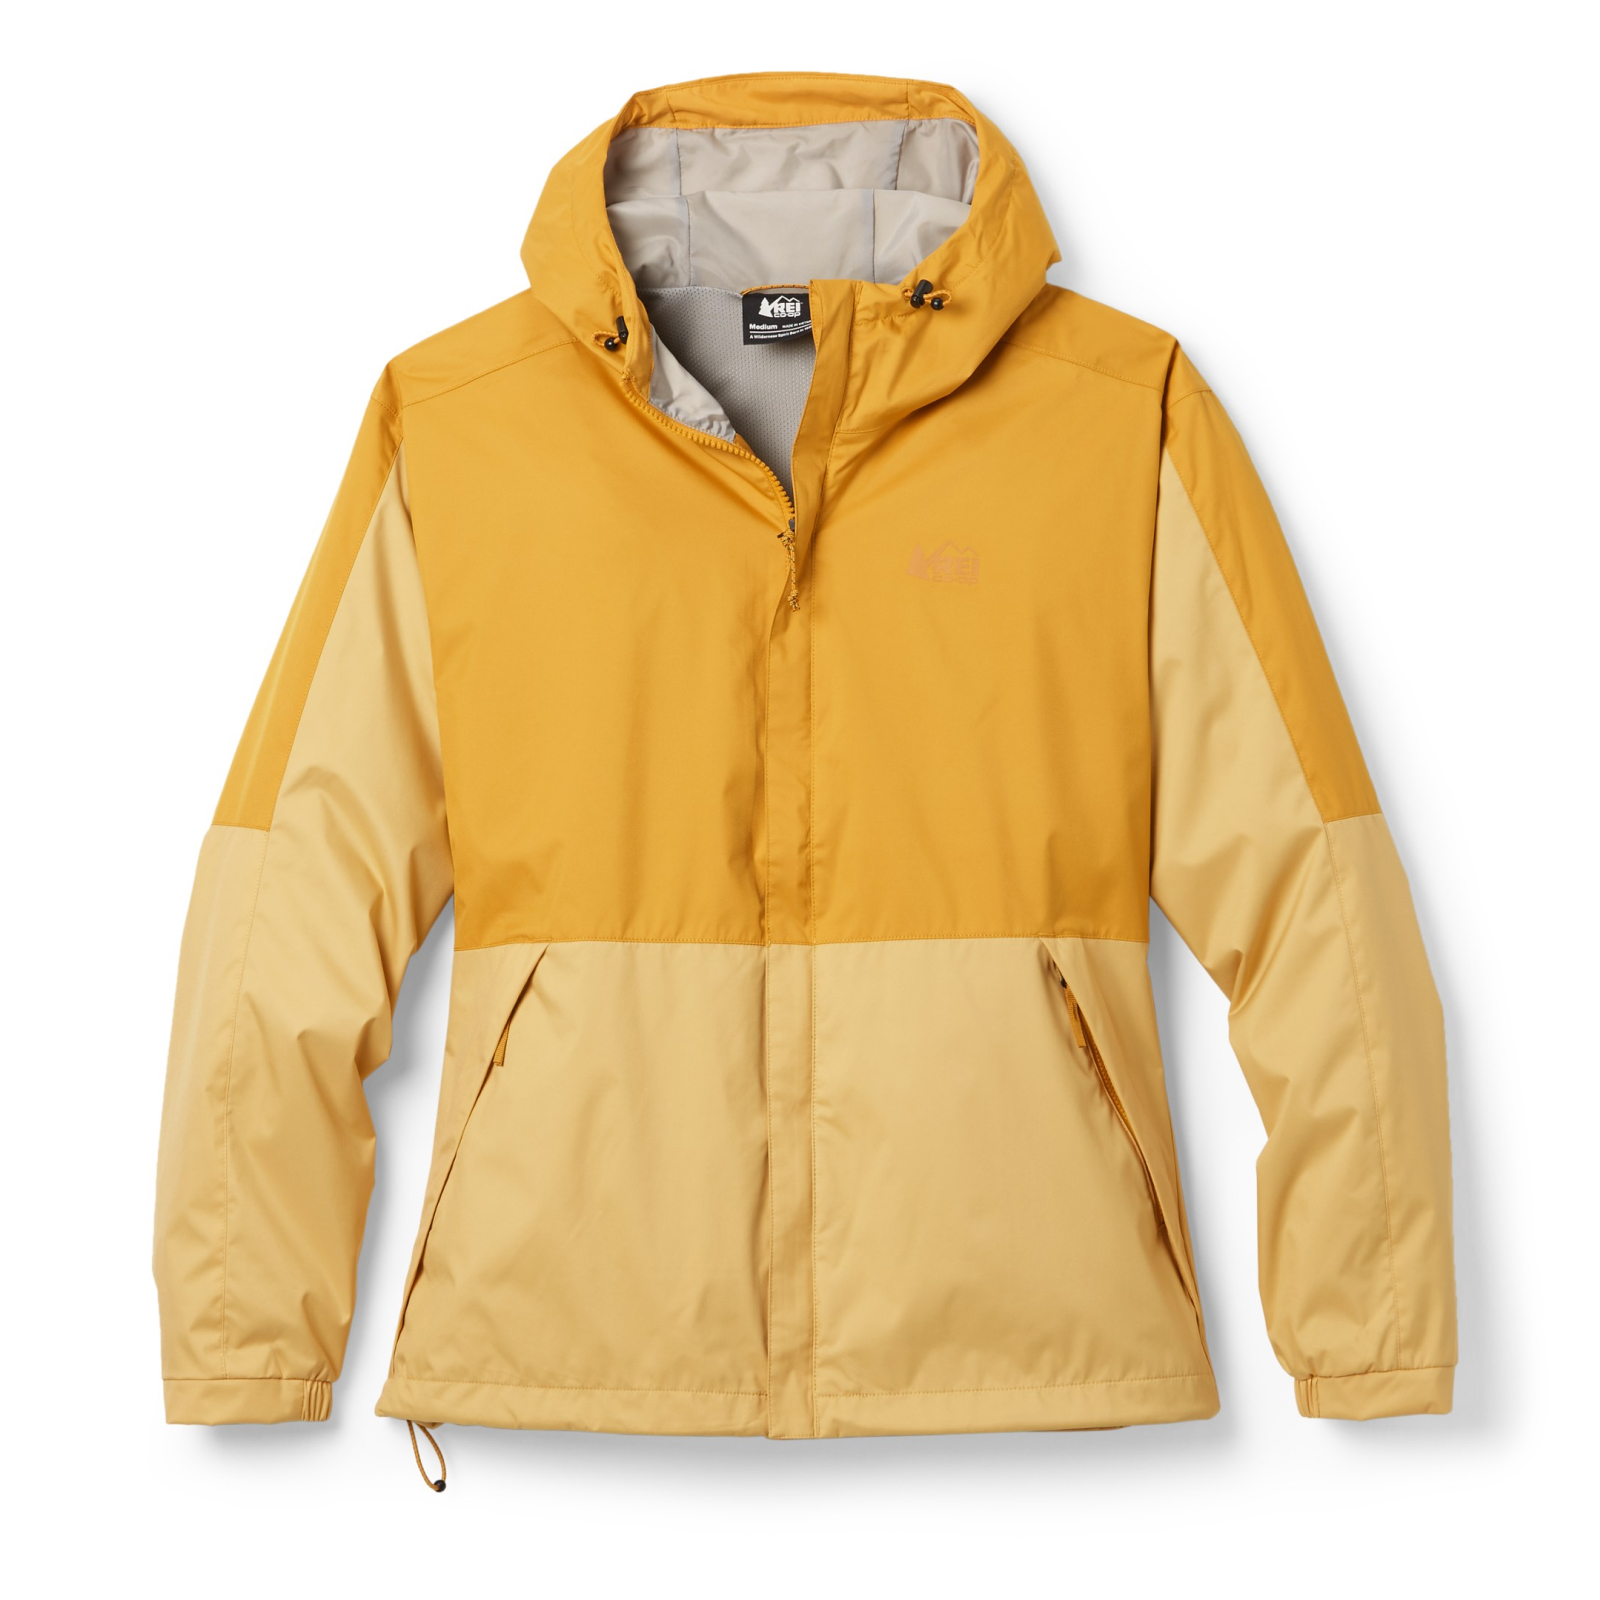
REI Co-op Trailmade Rain Jacket
14.1 oz | $70
The REI Trailmade Rain Jacket is a basic, 2L DWR-treated waterproof/breathable polyester rain jacket from a reputable brand at a great price. It’s not fanciest or lightest, in fact it’s kind of heavy and bulky. That said, it’s more reliable than other jackets in the sub $100 category. This is cheap backpacking gear at its finest, and its backed by REI’s warranty.
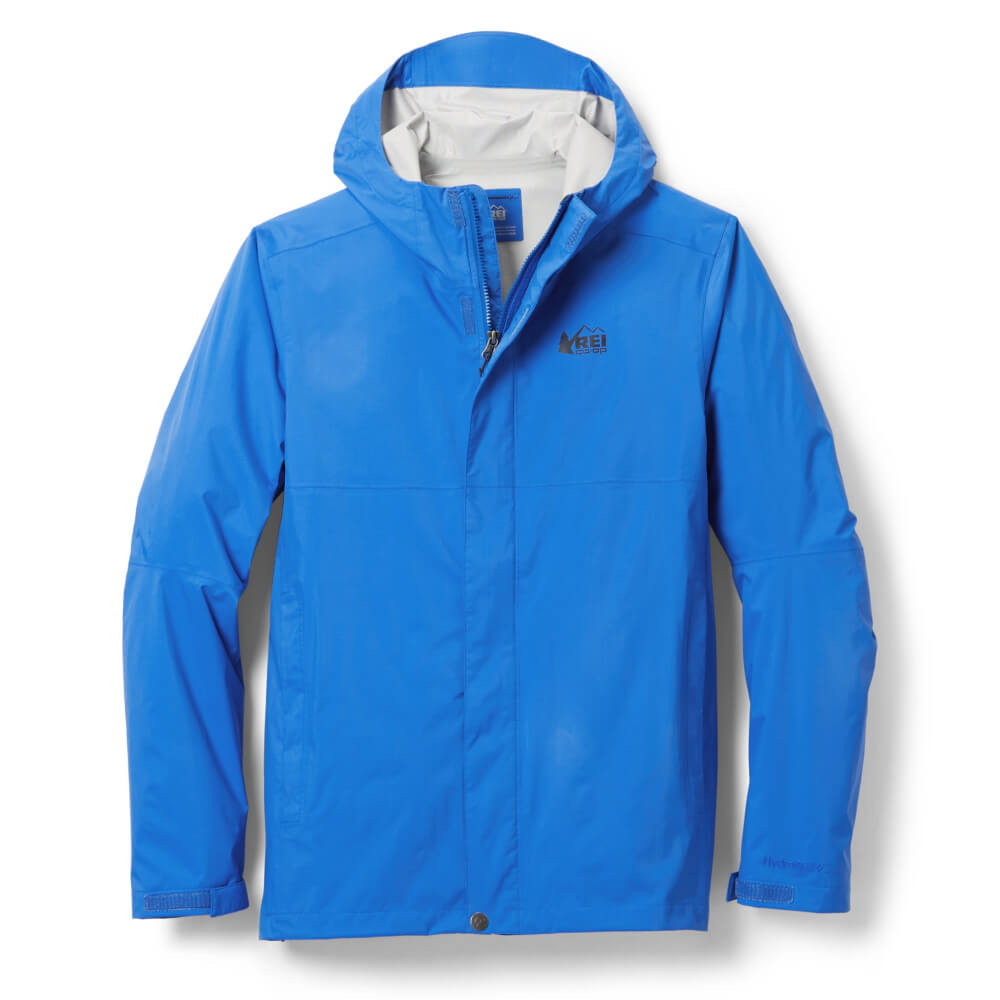
REI Co-op Rainier Rain Jacket
11.4 oz | $100
The REI Co-op Rainier Rain Jacket is the best hard shell we know of for only $100, and has been one of the most popular pieces of cheap backpacking gear for ages. The 2.5L HydroWall membrane checks all of the basic boxes for waterproofness and breathability. And we can’t stress enough how nice it is to have pit zips. But you also get an adjustable hood, hem/cuff cinches, and of course the REI warranty. What’s more, Rainier is super sustainable and ethically manufactured. You get Fair Trade Certified, bluesign approved, use of recycled nylons, and nonfluorinated DWR.

Black Diamond Treeline Rain Shell
8.9 oz | $140
If you want a cost-efficient, legitimately lightweight, hiking rain jacket, grab the Black Diamond Treeline Rain Shell. We love the old school-but-effective-back-yoke vents and the fact that it weighs less than nine ounces. It’s constructed with a 2.5L BD.dry fabric. It’s effective, even if it ain’t fancy.
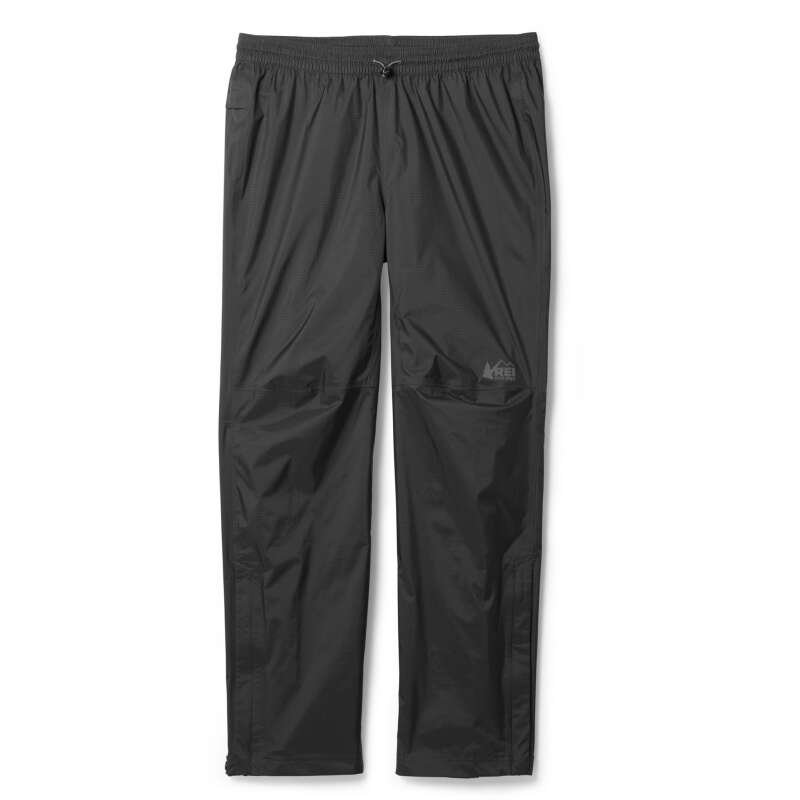
REI Trailmade Rain Pants
7.7 oz | $70
A basic pair of 2.5L, lightweight rain duds. What’s not to like? The REI Co-op Trailmade Rain Pants design features ankle zips, an elastic drawcord waistband, and a zippered back pocket. They’re available in a very wide array of sizes for all body types. Good all around cheap backpacking gear, perfect for hikers on a budget.
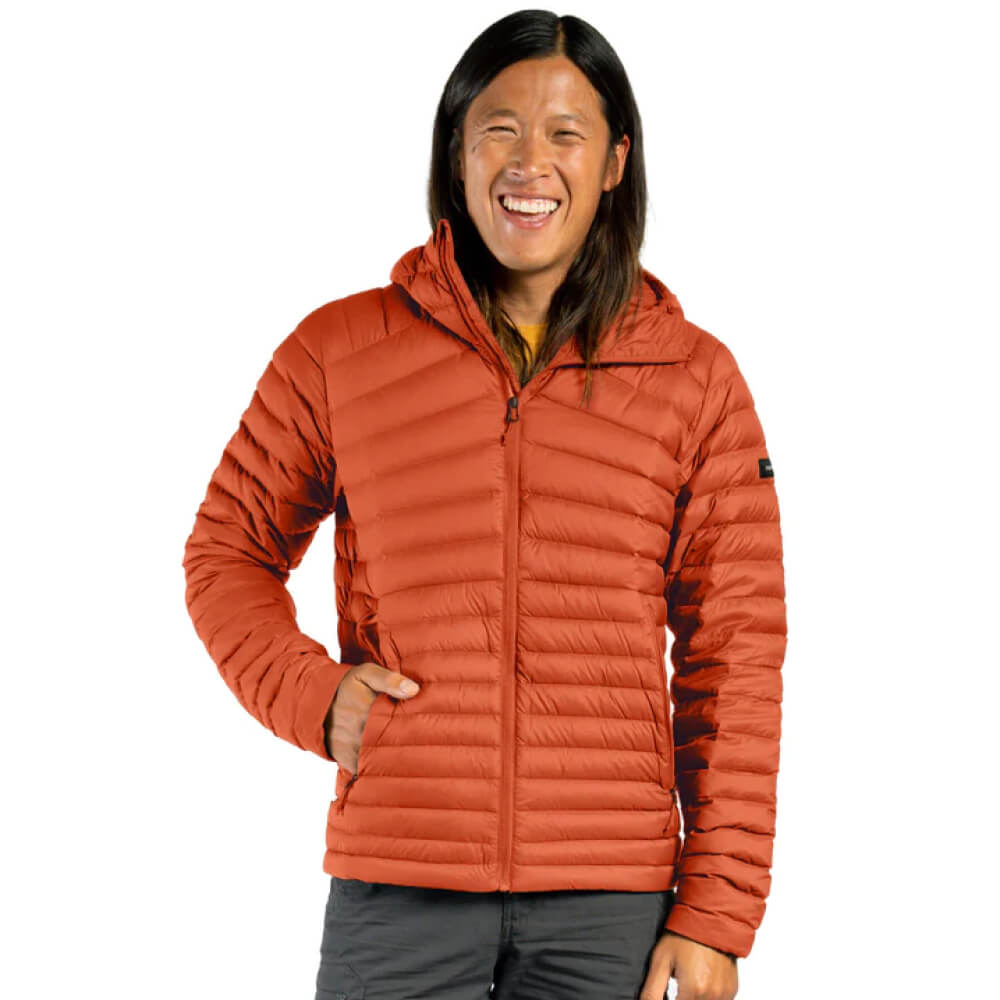
Decathalon Forclaz MT100 Down Puffer
10.5 oz | $100
The Decathalon Forclaz Mt100 Down Puffer is unquestionably the best way to spend $100 on an insulated jacket for hiking. This puffy offers a lightweight package, quality materials, and minimalist design without any major flaws or drawbacks. It may not be the most technologically advanced, but it bats well above its price point in terms of performance, and value shoppers will be over the moon. Shop now.
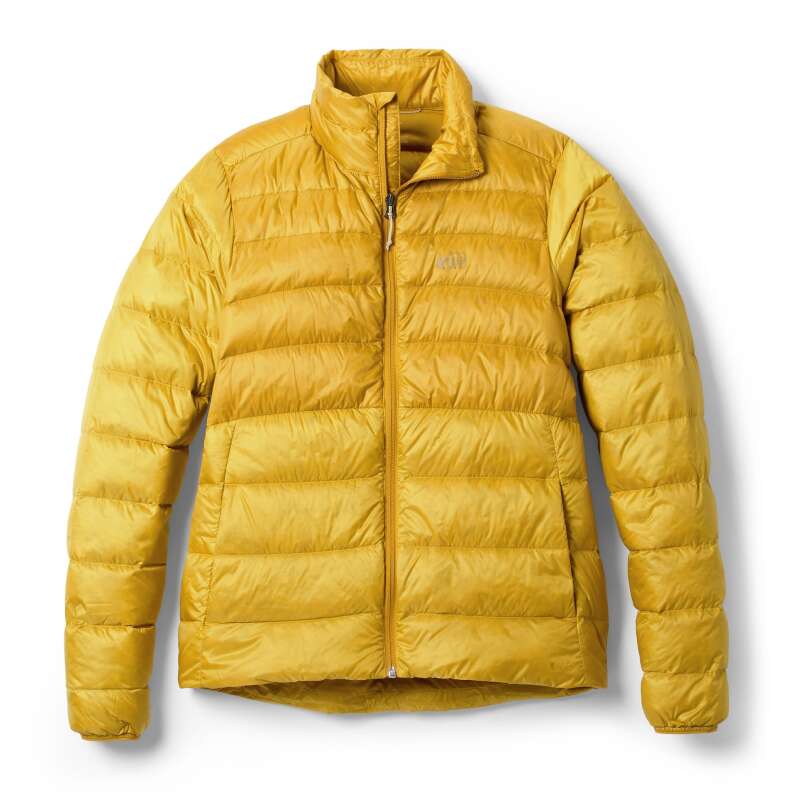
REI 650 Down Jacket
10.9 oz | $129
It’s really difficult to find a down jacket from a reputable outdoor brand for this price. Yet the REI Co-op 650 Down Jacket is still lighter than average. Sure, it uses low fill power down, has no hood, and isn’t exactly the warmest puffer, but it certainly gets the job done without breaking the bank. Plus, it’s 100% recycled.
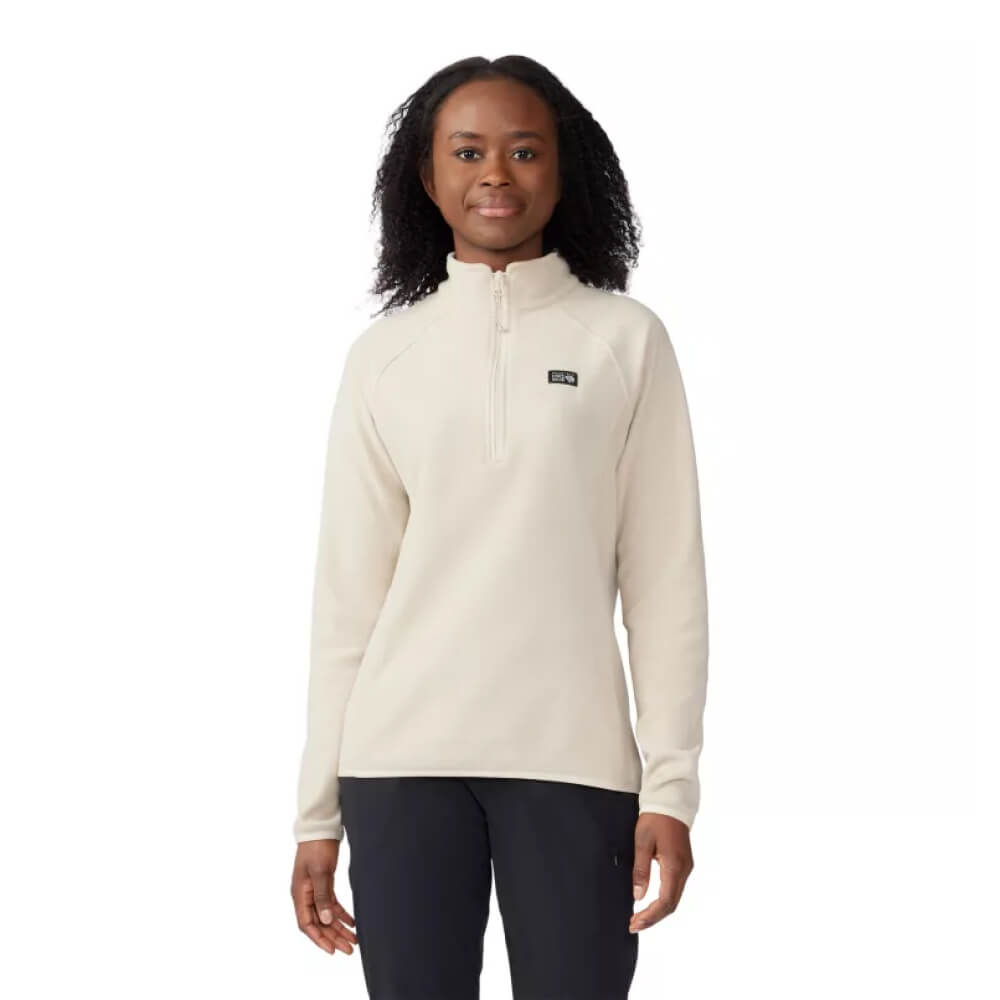
Mountain Hardwear Microchill Fleece
9.0 oz | $55
For a lightweight, ultra affordable, and ultra basic microfleece, grab the Mountain Hardwear Microchill Fleece. Sometimes the simplest solution gets the job done best. The Microchill fabric is warm, fuzzy, made with recycled materials and also lightweight. It has some stretch and breathability, but those are not its strong suits.
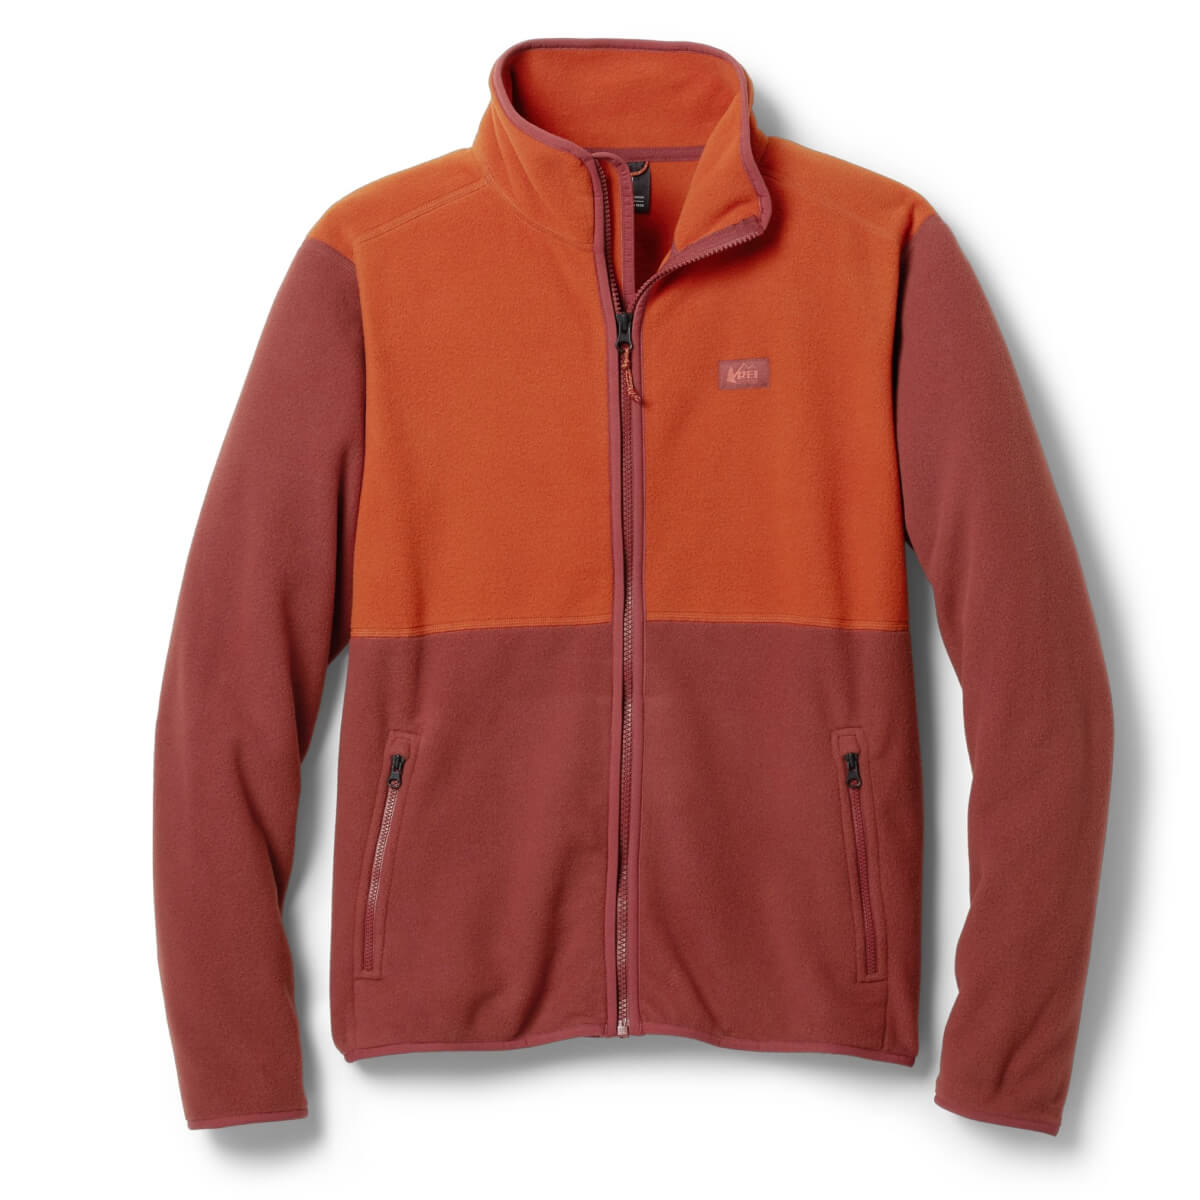
REI Trailmade Fleece Jacket
12.7 oz | $60
The REI Co-op Trailmade Fleece Jacket is a cozy, affordable, all-purpose midweight fleece jacket, and an excellent piece of cheap backpacking gear. It has hand pockets and spandex at hem and cuff. This is ol’ trusty microfleece, the fuzzy good stuff. But now it’s made with 100% postconsumer recycled polyester.
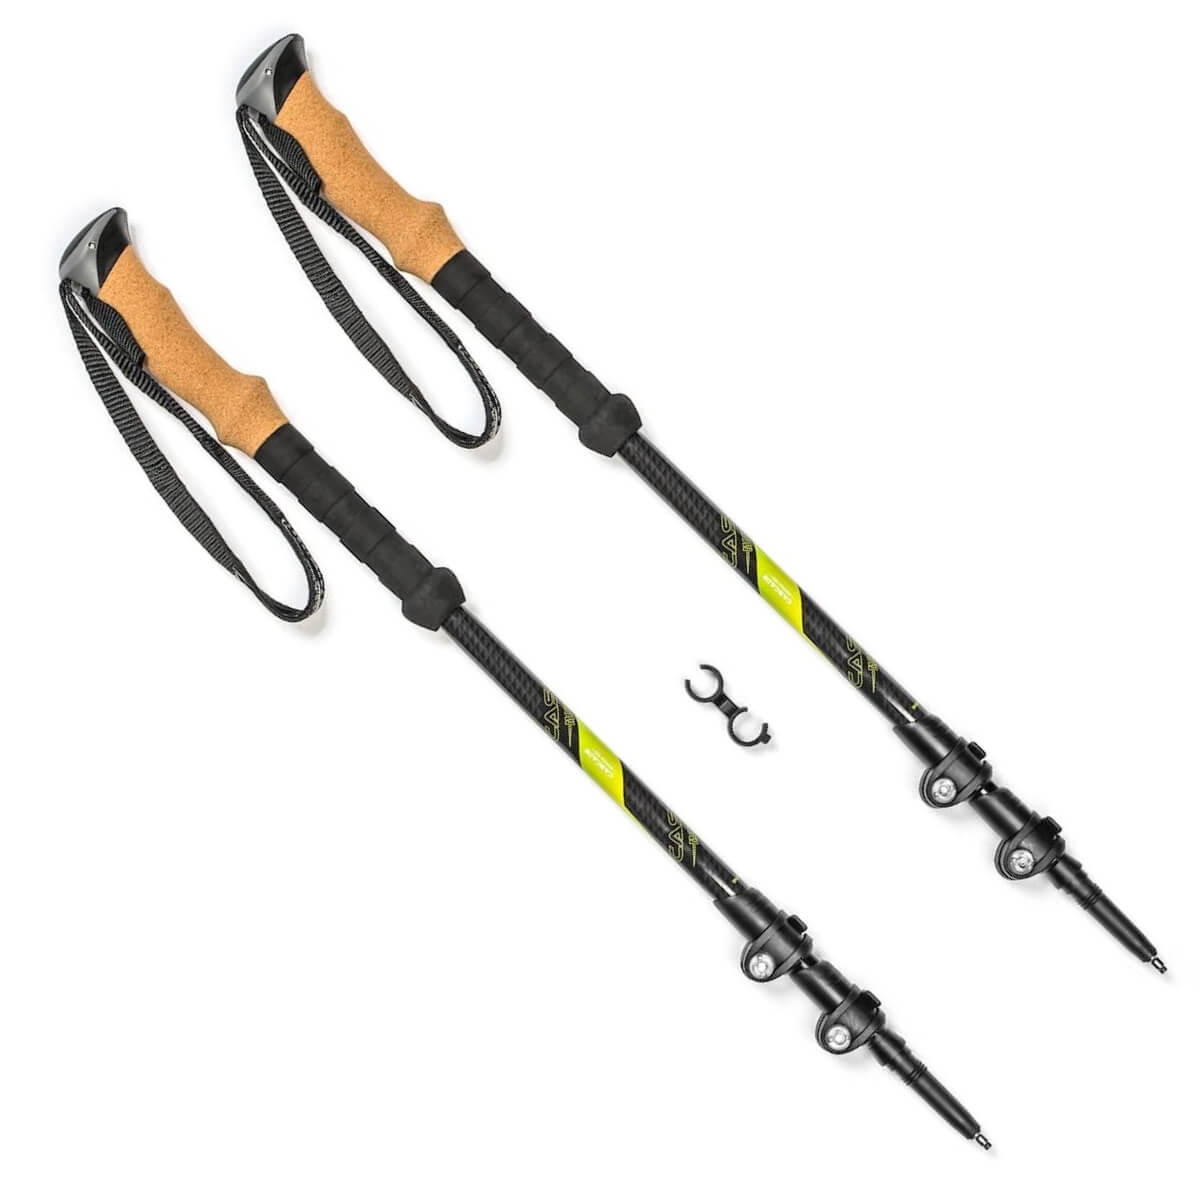
Cascade Mountain Tech Carbon Trekking Poles
Cascade Mountain Tech Carbon Fiber Trekking Poles
15.6 oz | $65
Sturdy, lightweight, durable, well-built, the CMT Carbon Fiber Collapsible Trekking Poles for $65 are an incredible deal on ultralight backpacking gear. Marginally lighter options from traditional brands go for $150-$250. These aren’t fancy, but we just can’t stress enough how preposterously good of a value proposition Cascade Mountain Tech Carbon Fiber Trekking Poles are.
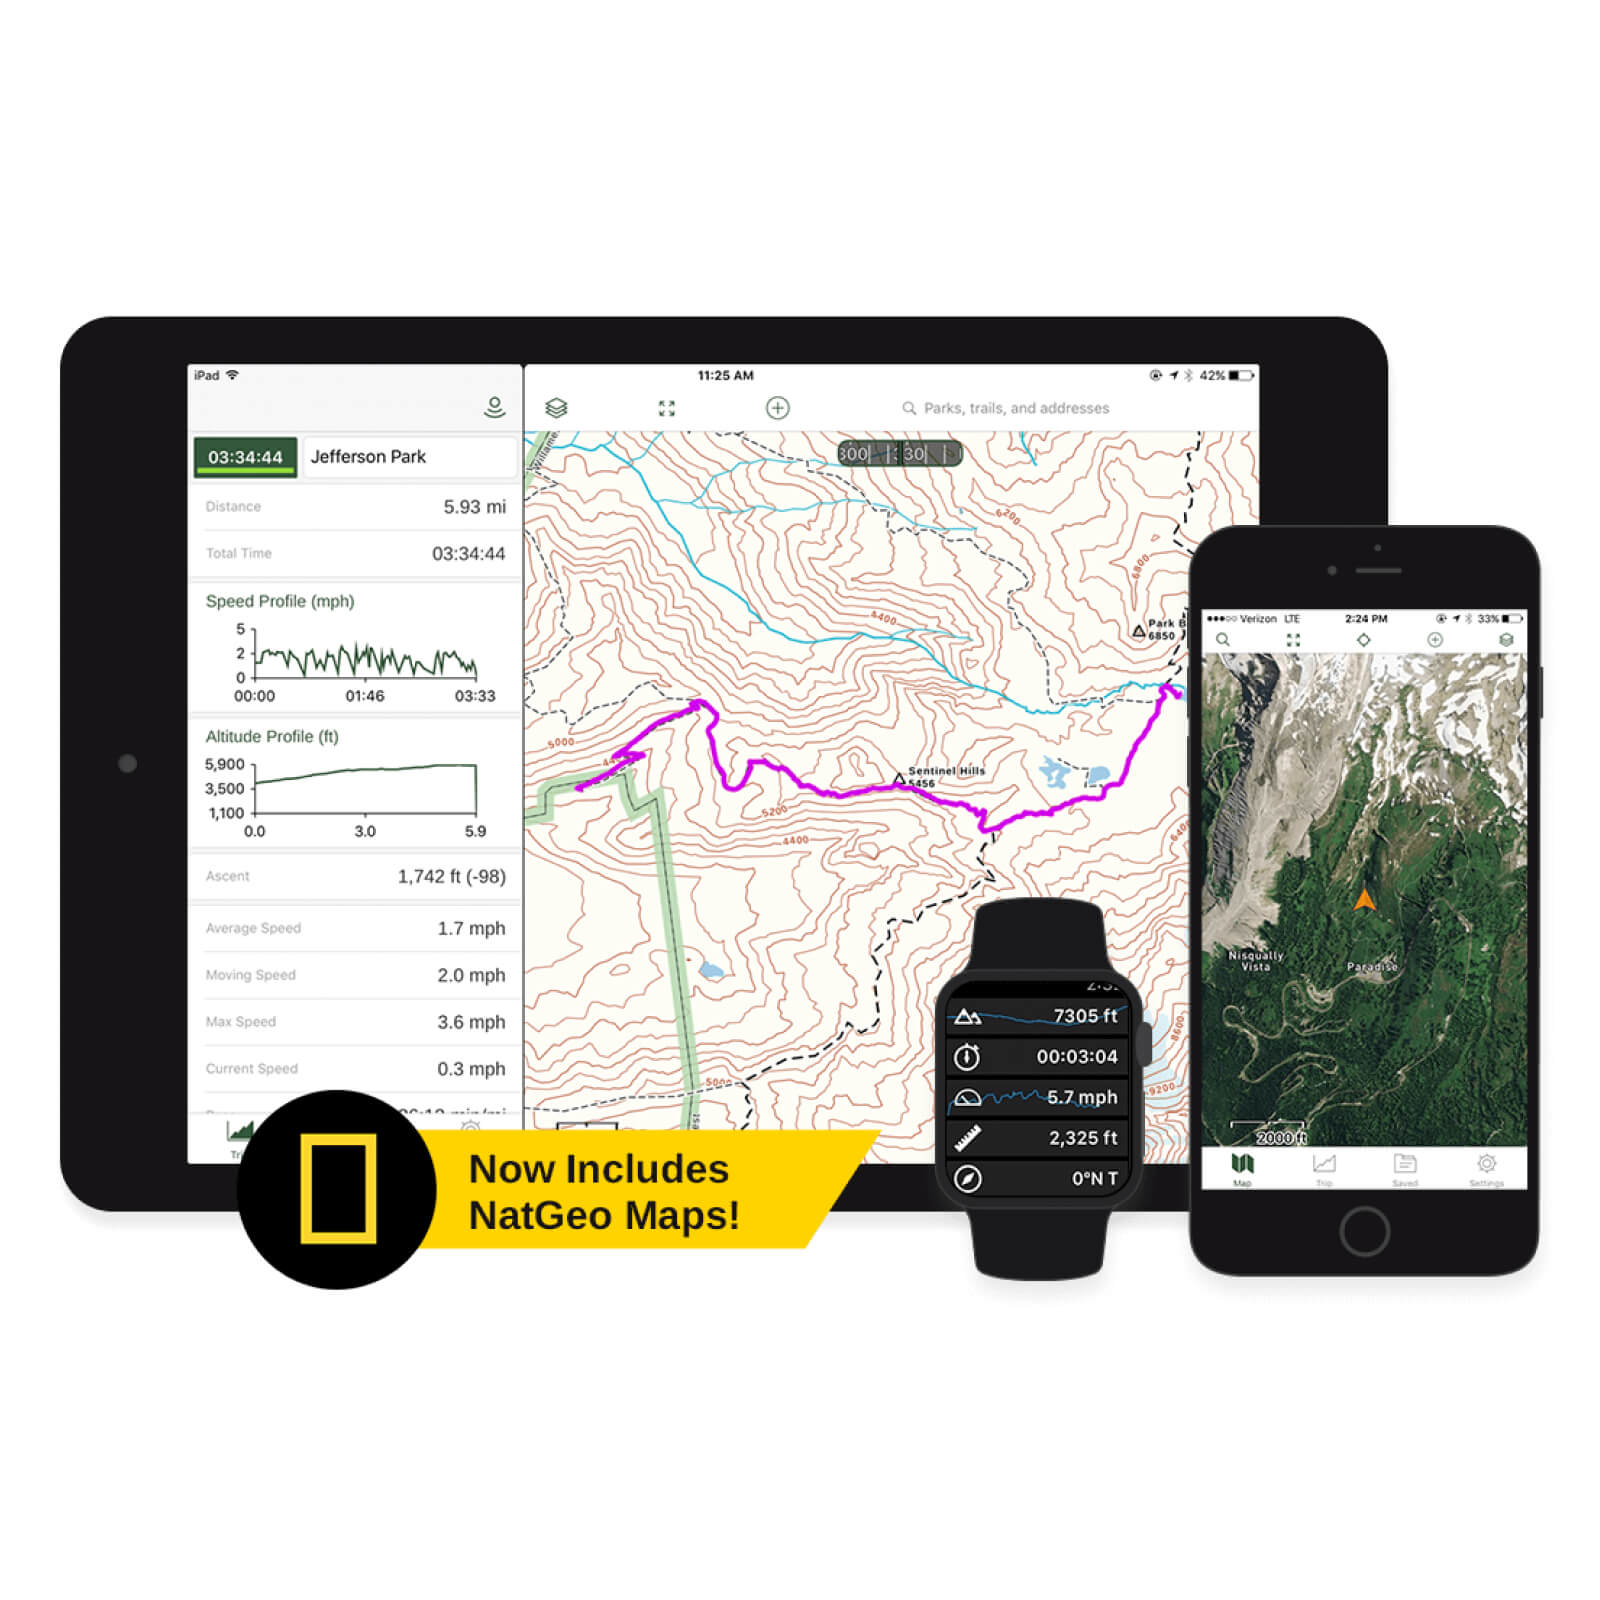
Gaia GPS App
Gaia GPS App
0 oz | $40
Available on iPhone or Android, Gaia GPS offers a Google Maps-like experience but pinpoints you on topographic maps with trails and routing. No cell service or internet is required, so long as you download the maps in advance. It’s much lighter, more affordable, and user-friendly than dedicated GPS units. Gaia GPS is our primary backcountry navigation tool, backed up by paper maps. And, if you subscribe to your first year of Gaia GPS by clicking the button below, they’ll give you 20% off! Considering that phone apps are weightless, we think this is some pretty great ultralight backpacking gear.
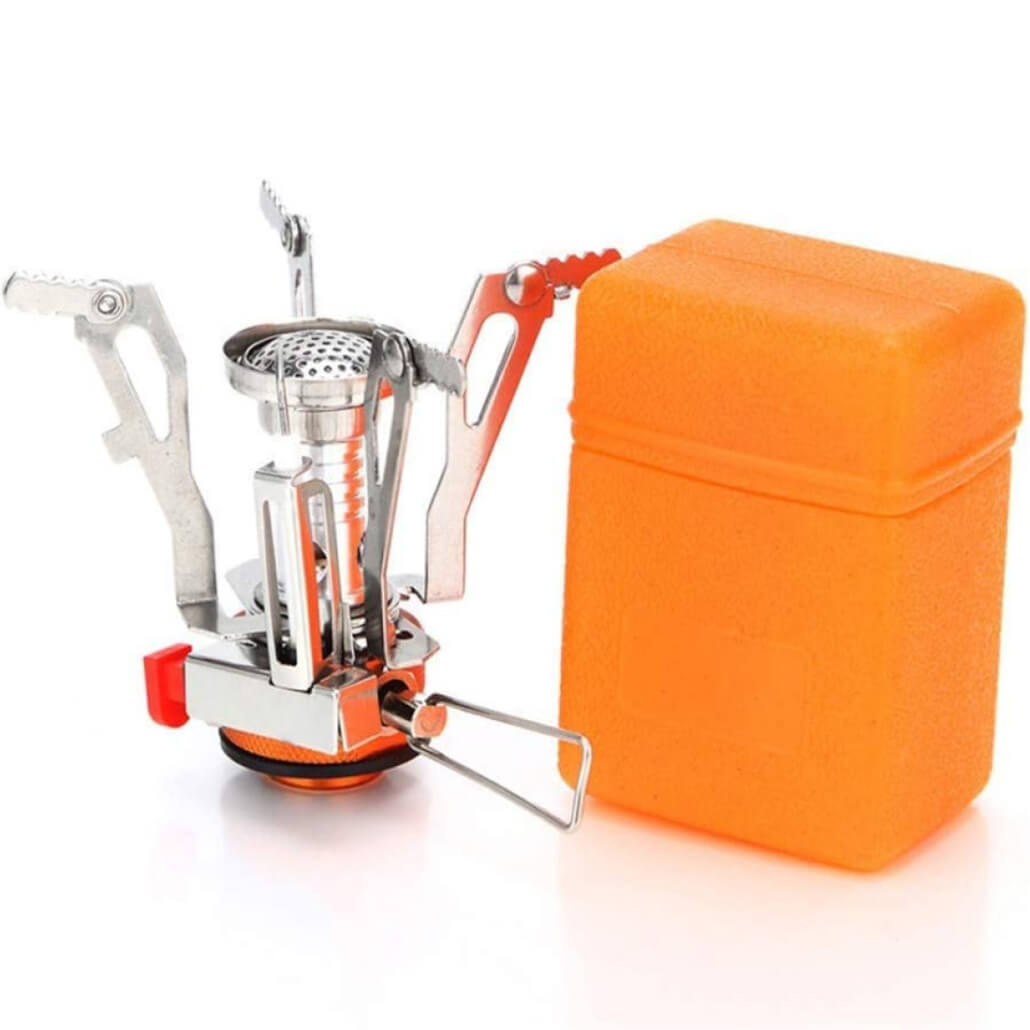
AOTU Portable Camping Stove
3.5 oz | $11
Here’s a legit legit backpacking stove for just $11. The AOTU Portable Camp Stove weighs just 3.5 oz, has an adjustable burner output, and comes with its own case. We’ve seen the sparker break before though, so don’t forget to pack a lighter too just in case. A small price to pay for such effective, cheap backpacking gear.
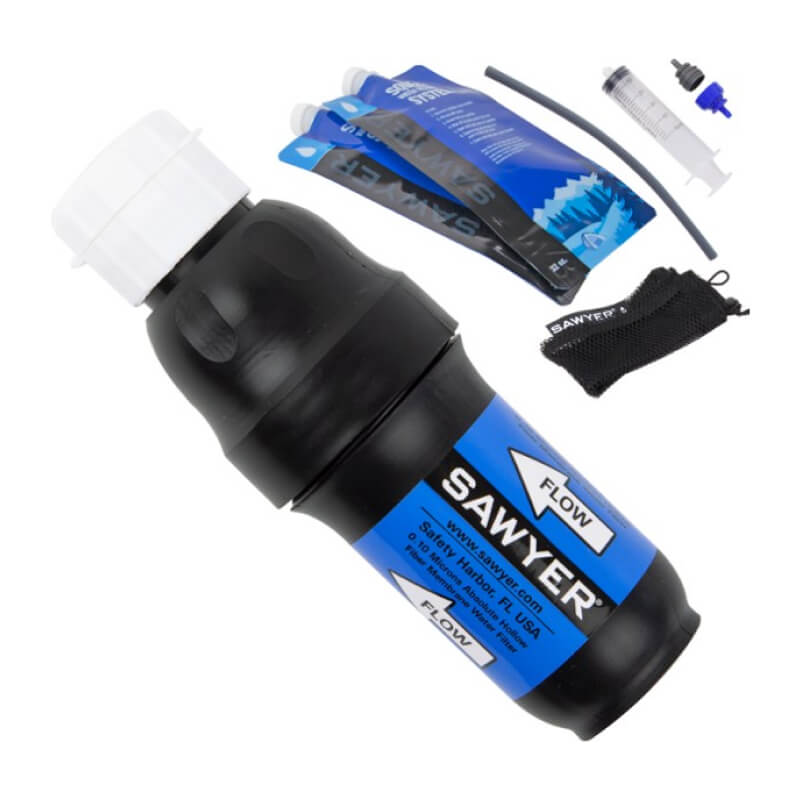
Sawyer Squeeze Water Filtration
Sawyer Squeeze Water Filtration
3.6 oz | $41
Faster and more efficient than pumping or waiting for chemical treatments, the Sawyer Squeeze System offers on-the-go hydration at a good flow. This product is long-lasting, affordable, reliable, cleanable, and very user-friendly. We also like the sawyer water bags for compressibility and having on hand so you can camel up at the last water source before dry camping at a viewpoint. This is ultralight backpacking gear. The filter itself weighs only 3 oz, and the 3.6 oz listed total also include a .6 oz 1L bag.
Cheap Backpacking Gear Conclusion
We hope this buyers guide helps you to save money and reduce pack weight. As you can see, you don’t need to break the bank to hit the backcountry. Affordable, budget gear is readily available. In most cases, even though their overall performance is average, many of this items on this cheap hiking gear list have an excellent performance-to-price ratio and are of great value. Happy trails!


